Heel turn
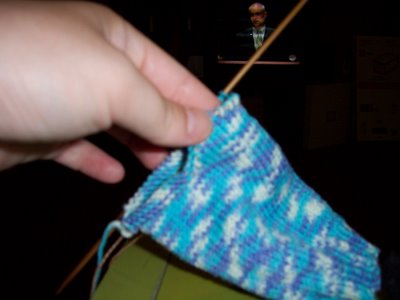
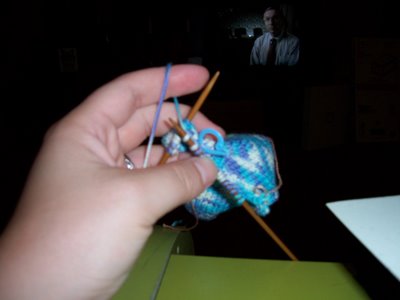
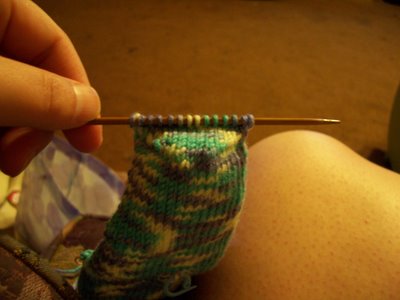
Turning the heel is actually pretty easy since you've got some great instructions but I thought I'd give you pictures of how it will come together. Here's what it looks like with 4 rows done.


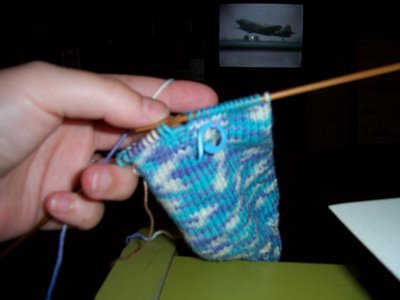
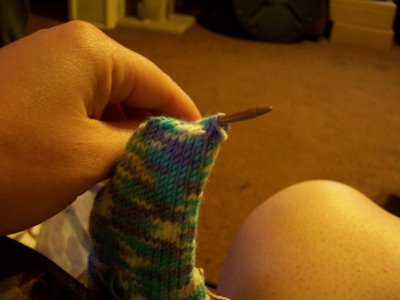
Once you've done a couple rows, you'll start seeing a pattern. Until you see the pattern, it's a good idea to write down what row you're on if you should have to set down your work at any point. Here's a finished turn.
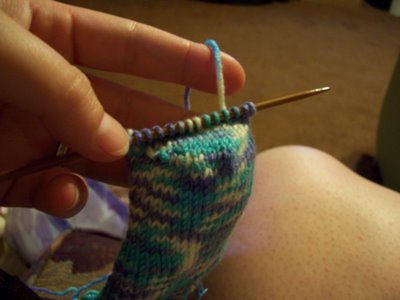

Next is the gusset. For me, picking up and knitting the stitches is the hardest part. You'll notice that stitches are looser on one side of the heel flap than the other. I tighten these stitches before I start to pick up and knit because it just makes it easier for me in the long run and I feel better about the way the flap looks; all symetrical. I guess I've got a bit of picture taking ahead of me tomorrow!


Once you've done a couple rows, you'll start seeing a pattern. Until you see the pattern, it's a good idea to write down what row you're on if you should have to set down your work at any point. Here's a finished turn.


Next is the gusset. For me, picking up and knitting the stitches is the hardest part. You'll notice that stitches are looser on one side of the heel flap than the other. I tighten these stitches before I start to pick up and knit because it just makes it easier for me in the long run and I feel better about the way the flap looks; all symetrical. I guess I've got a bit of picture taking ahead of me tomorrow!

