Saturday, June 24, 2006

Heel turn

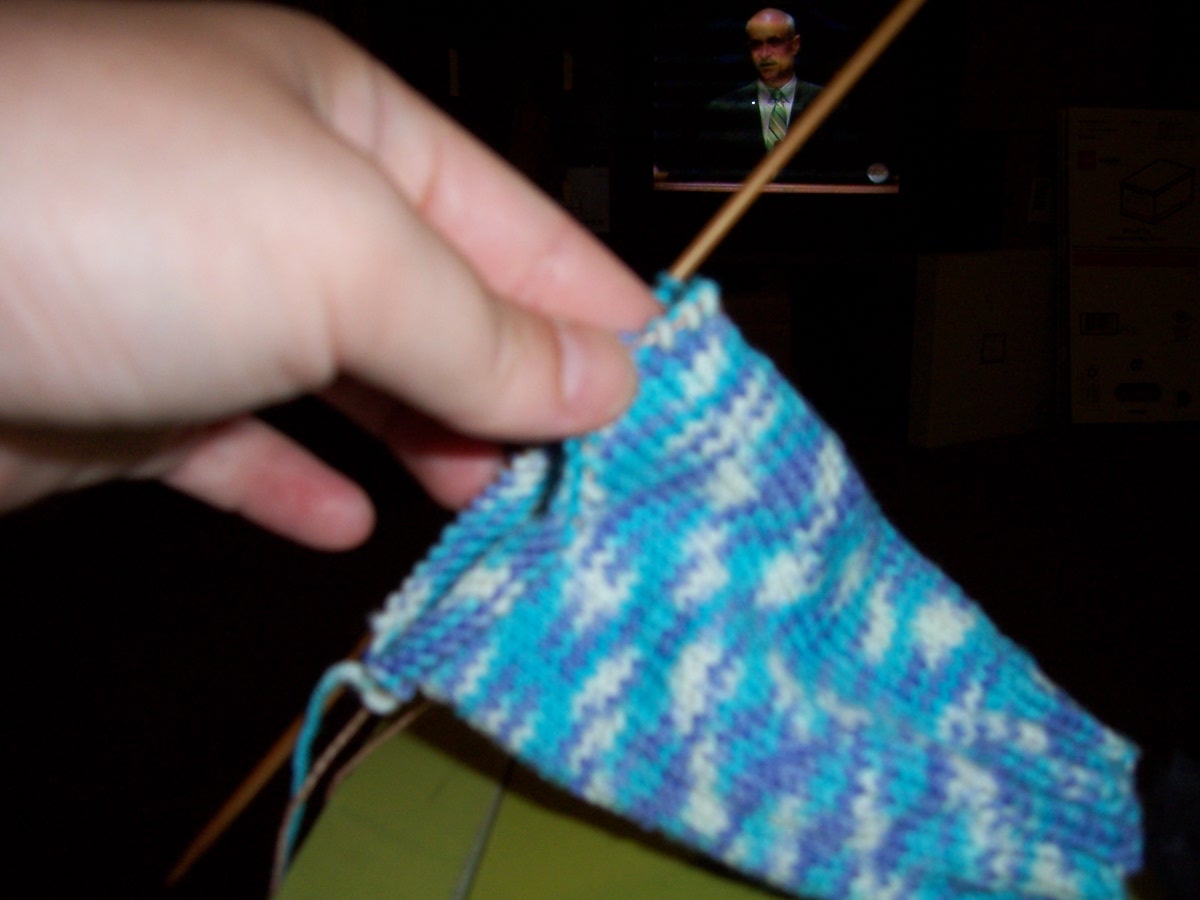
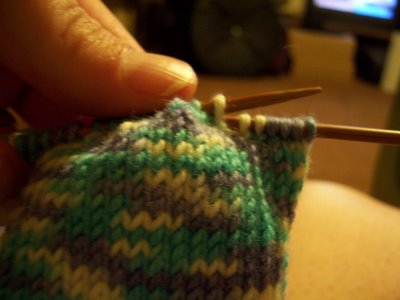
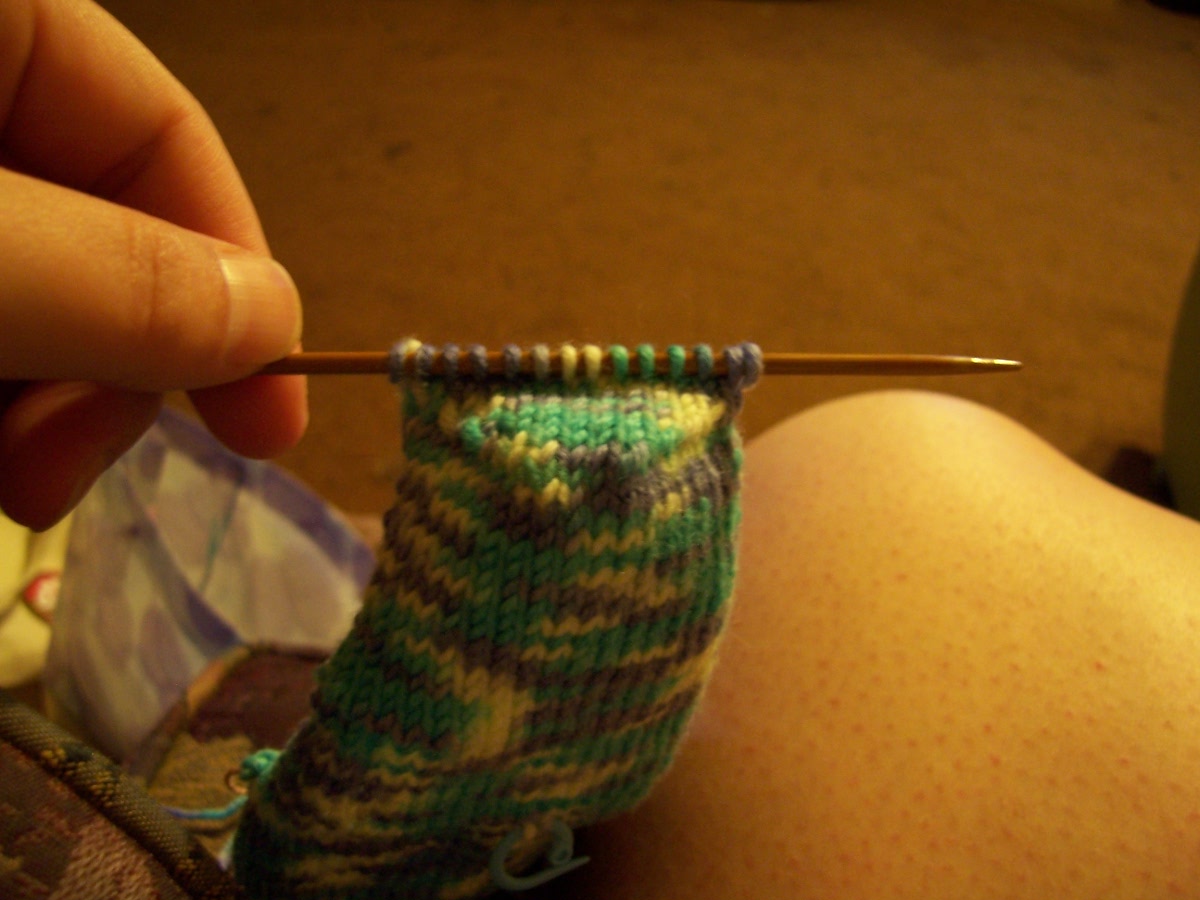
Turning the heel is actually pretty easy since you've got some great instructions but I thought I'd give you pictures of how it will come together. Here's what it looks like with 4 rows done.


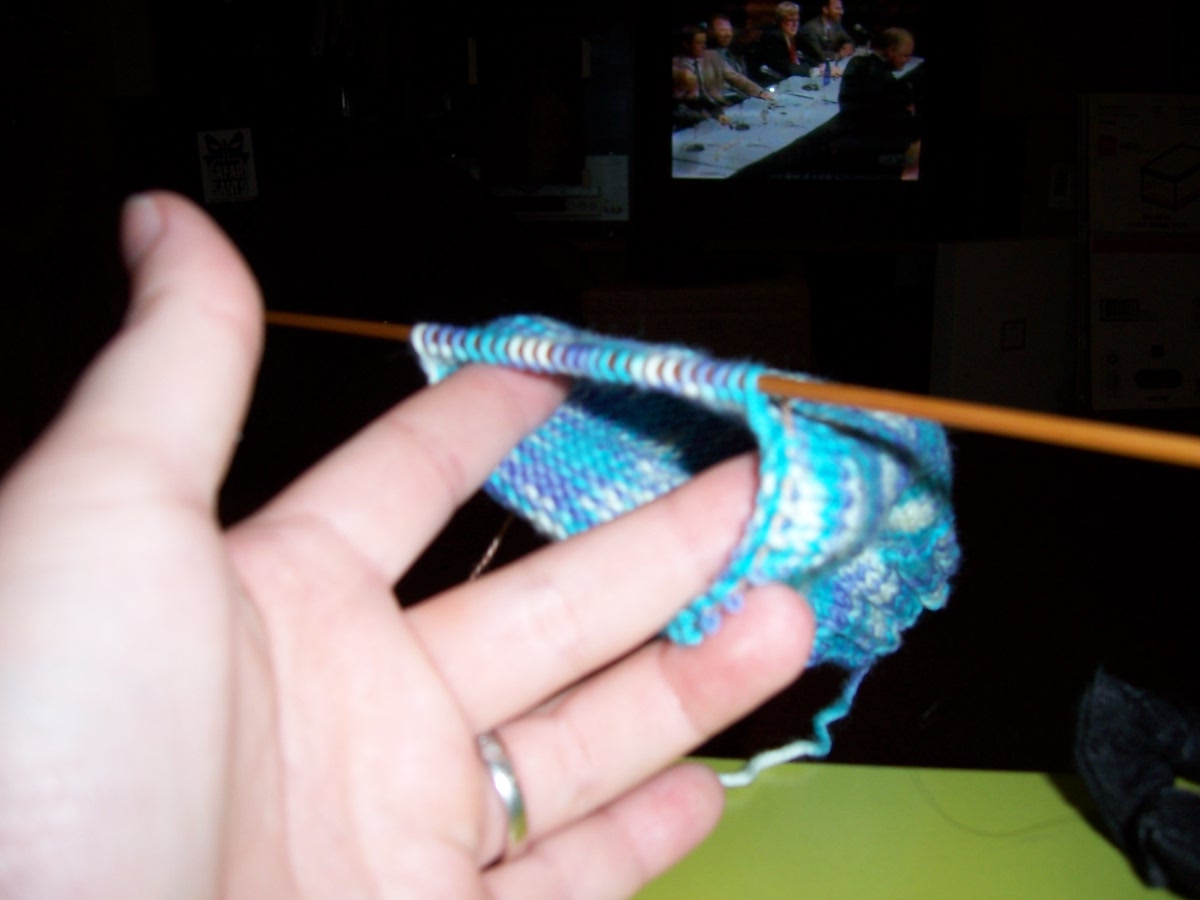
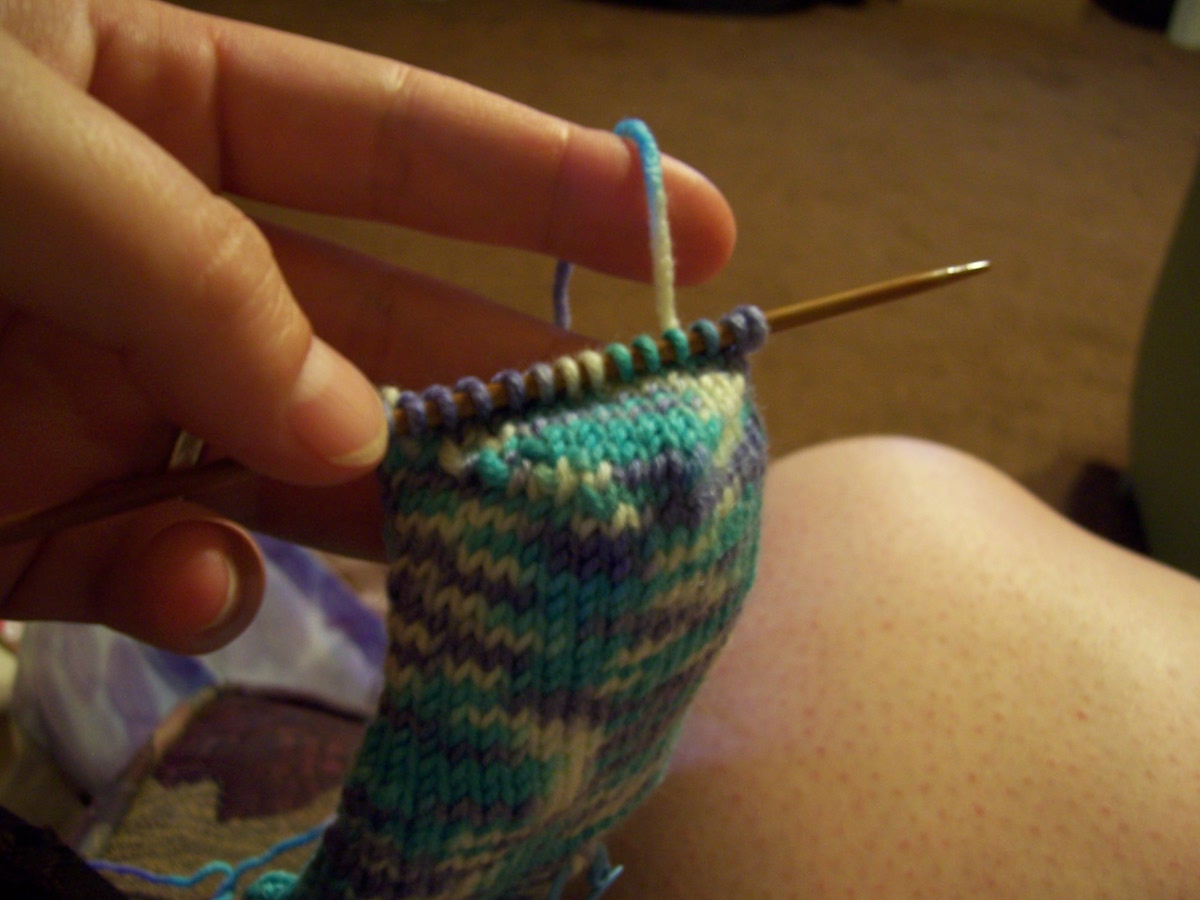
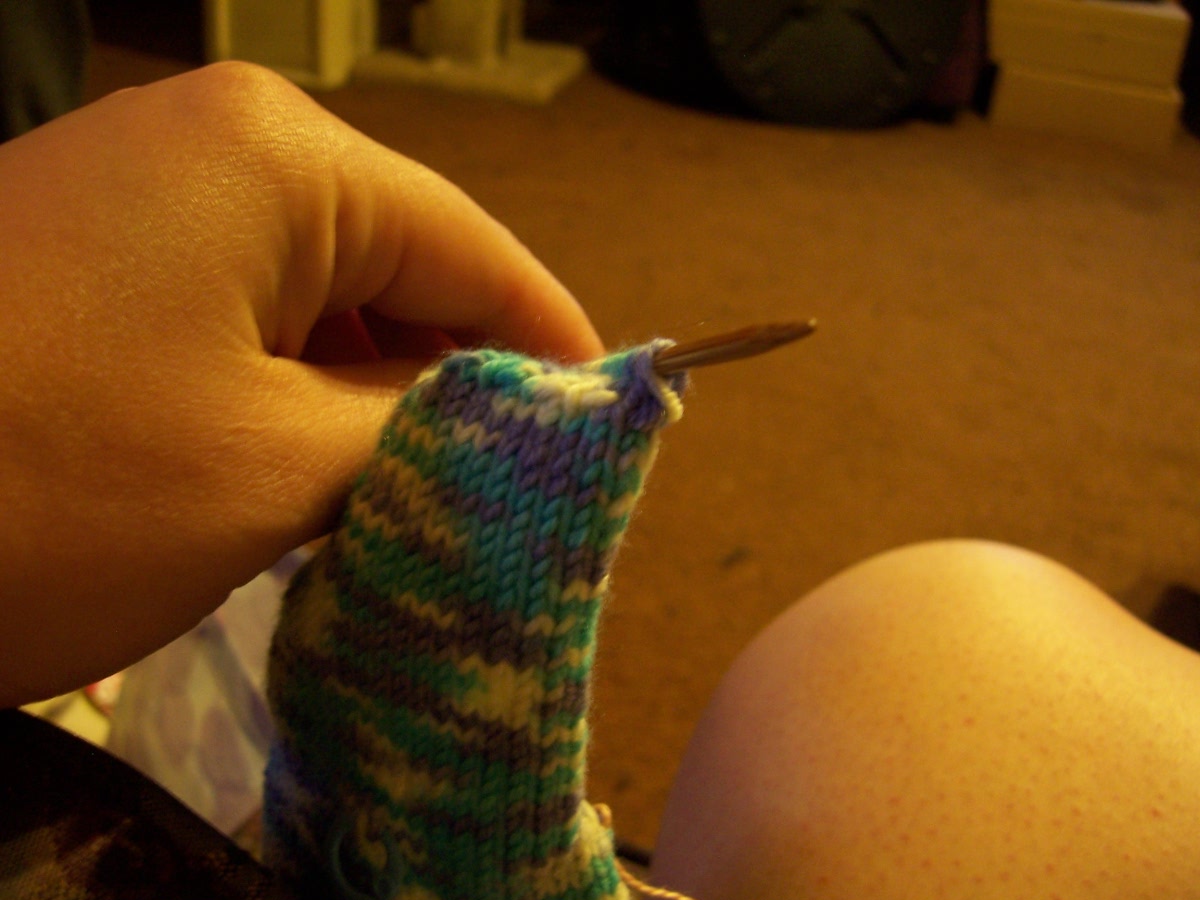
Once you've done a couple rows, you'll start seeing a pattern. Until you see the pattern, it's a good idea to write down what row you're on if you should have to set down your work at any point. Here's a finished turn.


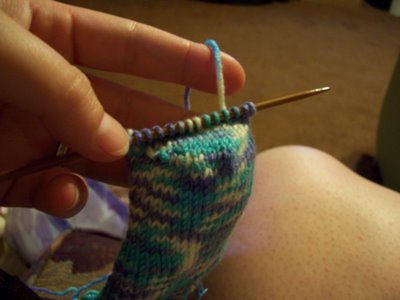
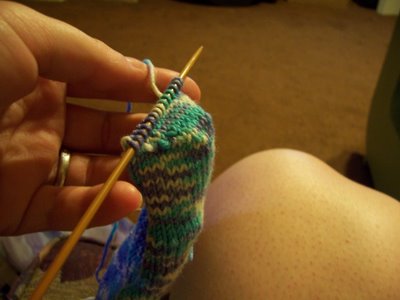
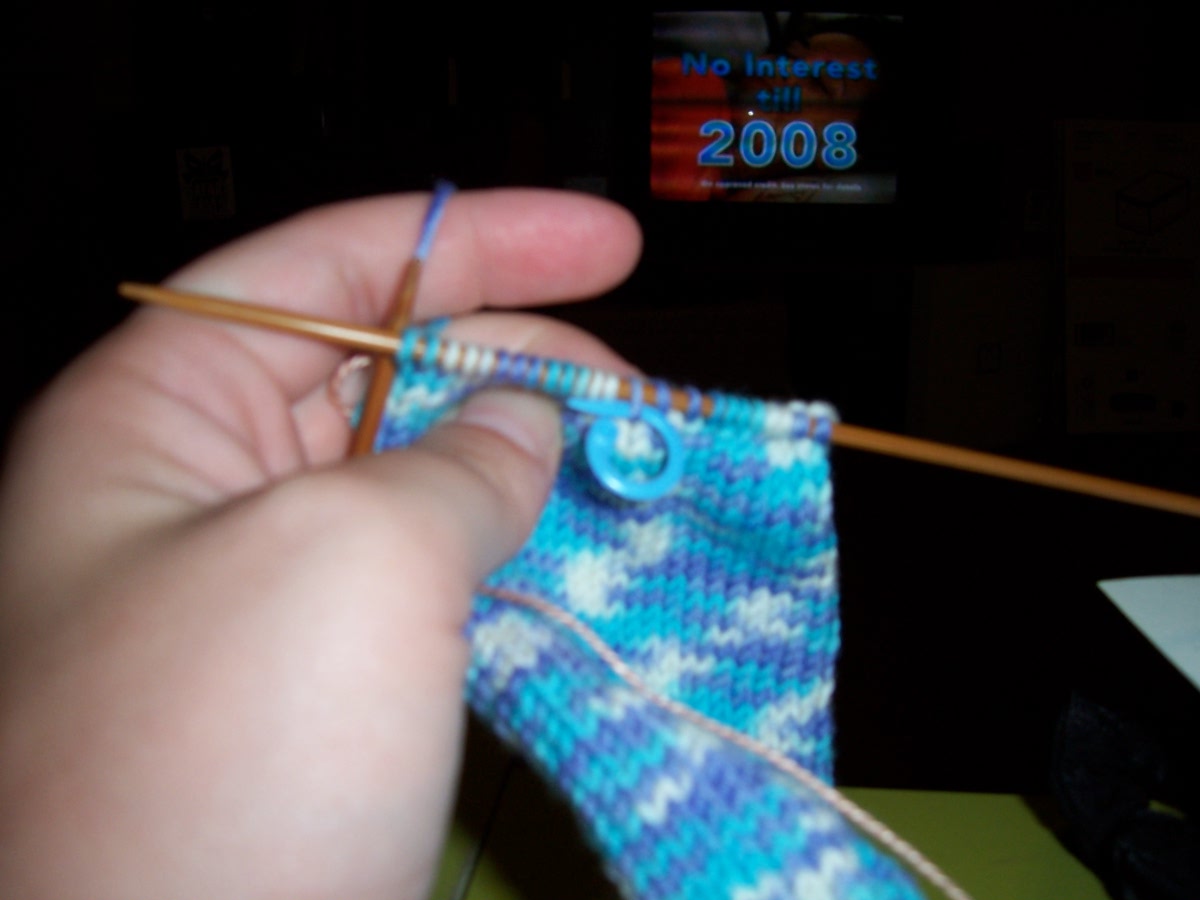
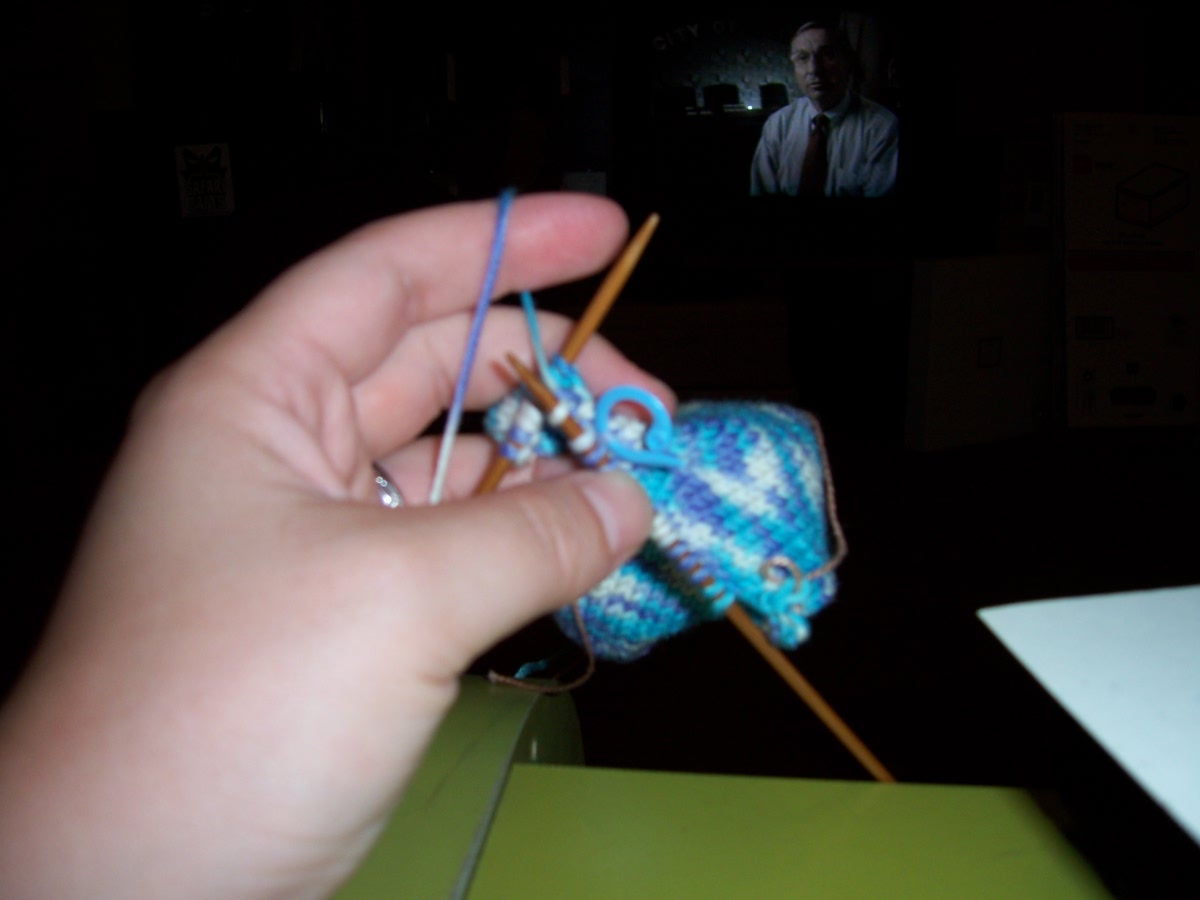
Next is the gusset. For me, picking up and knitting the stitches is the hardest part. You'll notice that stitches are looser on one side of the heel flap than the other. I tighten these stitches before I start to pick up and knit because it just makes it easier for me in the long run and I feel better about the way the flap looks; all symetrical. I guess I've got a bit of picture taking ahead of me tomorrow!

Starting the heel flap: For Angel

I do a little reading ahead and preparation before starting the flap to make my life a little easier. These instructions are asking that you K a set number of stitches onto a needle. In most sock instructions, they refer to this as "Needle 1". (You don't actually need to know that for these socks. It's just good to know in the future.)

Before I go to K these stitches onto a needle, I slip the stitches from needles 2 and 3 onto a piece of waste yarn.


With most (if not all) sock patterns, I've noticed that there will be an equal amount of stitches on the heel as there are on the instep. BTW, make sure you try on your sock at this point. If it fits over the widest part of your instep, you should be just fine. It will feel a little snug because you still have a needle in.

At this point, I'm going to start to knit across the heel stitches now that I've got my other stitches on the waste yarn. Reading forward a bit in the instructions, it says that, after you've knit across the heel stitches, turned and purled back across them, you should place a saftey pin in the row below the purl row. If you're not very experienced in counting rows, it's a good idea to hang your safety pin now. I'm using a split ring stitch marker because I'm too lazy to go find a safety pin. Make sure you click on this picture and make it as big as you can get it so that you can really see where I put this marker. The stitch that it is on is not important. Only that it is on this row. So you can pick any old stitch to hang your pin on but I do it somewhere in the middle as general good practice. Sometimes you have to measure from a marker and the stitches at the end of rows have a tendency to be looser than in the middle until things get seamed up.

Now, you're going to K across this row and turn. Slip 1, purl across the heel stitches. Here's how your stitch marker will lay as you are doing this.


Sorry about the blurry pics... Now here's what your stitch marker will look like once you've purled across the heel, turned, slip one and knit across the heel.
So, you'll have a stitch marker, a V above it and the loop on the needle above that. Lather, rinse repeat!!!

Next will be turning the heel. You'll be really surprised how easy that is too. Yay for Angel!